Nothing looks more magical than a light trail in photographs. Whether you’re a beginner or an experienced photographer, knowing how to photograph light trails is a must. Learning such a technique not only adds value to your skill set but brings versatility to your overall photography style and creates a captivating portfolio. So, here we’ll explain how to photograph light trails (a light trail photography tutorial) in this article.
But what is light trail photography? Well, when you leave your camera’s shutter open for long periods, you can capture the movement of light, creating a very dynamic picture. Photos with a light trail usually look super vibrant and colourful, be it cityscapes or natural landscapes; you can create beautiful images using light. So, without further ado, let’s get into it.
The equipment you may require for light trail photography:
First, let’s see the equipment you must have to pursue light trail photography.
Camera:
It doesn’t need mentioning, but a camera is all you need to shoot some decent photos with light trails. However, usually, this type of photography is done in settings with low light; for instance, during evenings or at night time to bring out the colour and detail of lights better. That doesn’t mean your camera should have a specialised feature to shoot in dim lights, though if it does, that would be a plus point, but even without it, you can capture a nice light trail photo as long as you can manually set the settings and get the right timing along with the clever use of the shutter speed.
Tripod:
A tripod is a must because you need your camera angle to stabilise while taking a photo. Long-exposure photography requires perfect stabilisation, so you can’t risk capturing an image relying on your hands. One unexpected shake can ruin the whole picture, creating bad blurs. That’s why you must carry a tripod to the shoot location and use it to set the angle for taking a light trail image.
Neutral-density filter:
The ND filter is a glass piece that you can use to cover up your camera’s lens. This filter can help you limit the intensity of lights in case they are overwhelmingly strong and get too much for your frame.
L-Bracket:
L-bracket is a tool that allows you to rotate your camera with ease. It also helps you take portraits with breathtaking light trails.
Choosing the most suitable camera settings:
After you get the gear ready, you must understand the settings you want to use for clicking light trail photos.
1- ISO:
The ISO is a feature in cameras that allow you to capture maximum light. It’s very useful in low lighting, where you need to focus on more light. In bright sunlight, you may keep ISO settings on low; for instance, you may keep it on 100 when you’re out shooting in broad daylight. Likewise, you may set it on a higher value like ISO 800 or ISO 1600 while shooting at night for capturing light trail images.
2- Shutter speed:
The shutter speed can either be fast or slow, depending on what kind of photo you want to take. When it comes to light trail photography, long exposures are preferred, which means you may slow down the shutter speed to get as much light across as possible. Starting from 5 seconds to so on, you can experiment with the shutter speed to get a good photo with fancy light trails.
3- Aperture:
The aperture controls the entering of light in the camera’s lens. Depending on how much it is open, measured in f/stops, you can get enough light you want in your photo. You may try the f/16 setting for capturing a light trail photo.
4- Manual settings:
A good light trail photo doesn’t come out by following fixed values. We did give you an idea of what settings may be suitable; however, you are the one who will make the final decision. You may try different settings and experiment around to see what works and what doesn’t. That’s why the ability to set the camera manually is your best option, as you can adjust the various settings and angles from your vantage point to capture the best light trail photo.
Be creative with your light trail photography:
1- Choose a nice location:
A good photograph heavily depends on the site of the shoot which means you must be creative in choosing the location for your light trail shoots. Usually, most photographers prefer cityscapes for capturing light trails as it gives them a lot of room for getting a scenery of their choice. In the city, finding a suitable vantage point or capturing multiple moving vehicles would help create a dynamic light trail is easier.
However, you can also capture enticing light trail photos in the countryside or use other light sources to show a light trail in a picture. For instance, using sparklers on a beach at night may help create beautiful scenery and allow you to capture a light trail. As your clients run holding their sparklers, you can take this opportunity to shoot a captivating image.
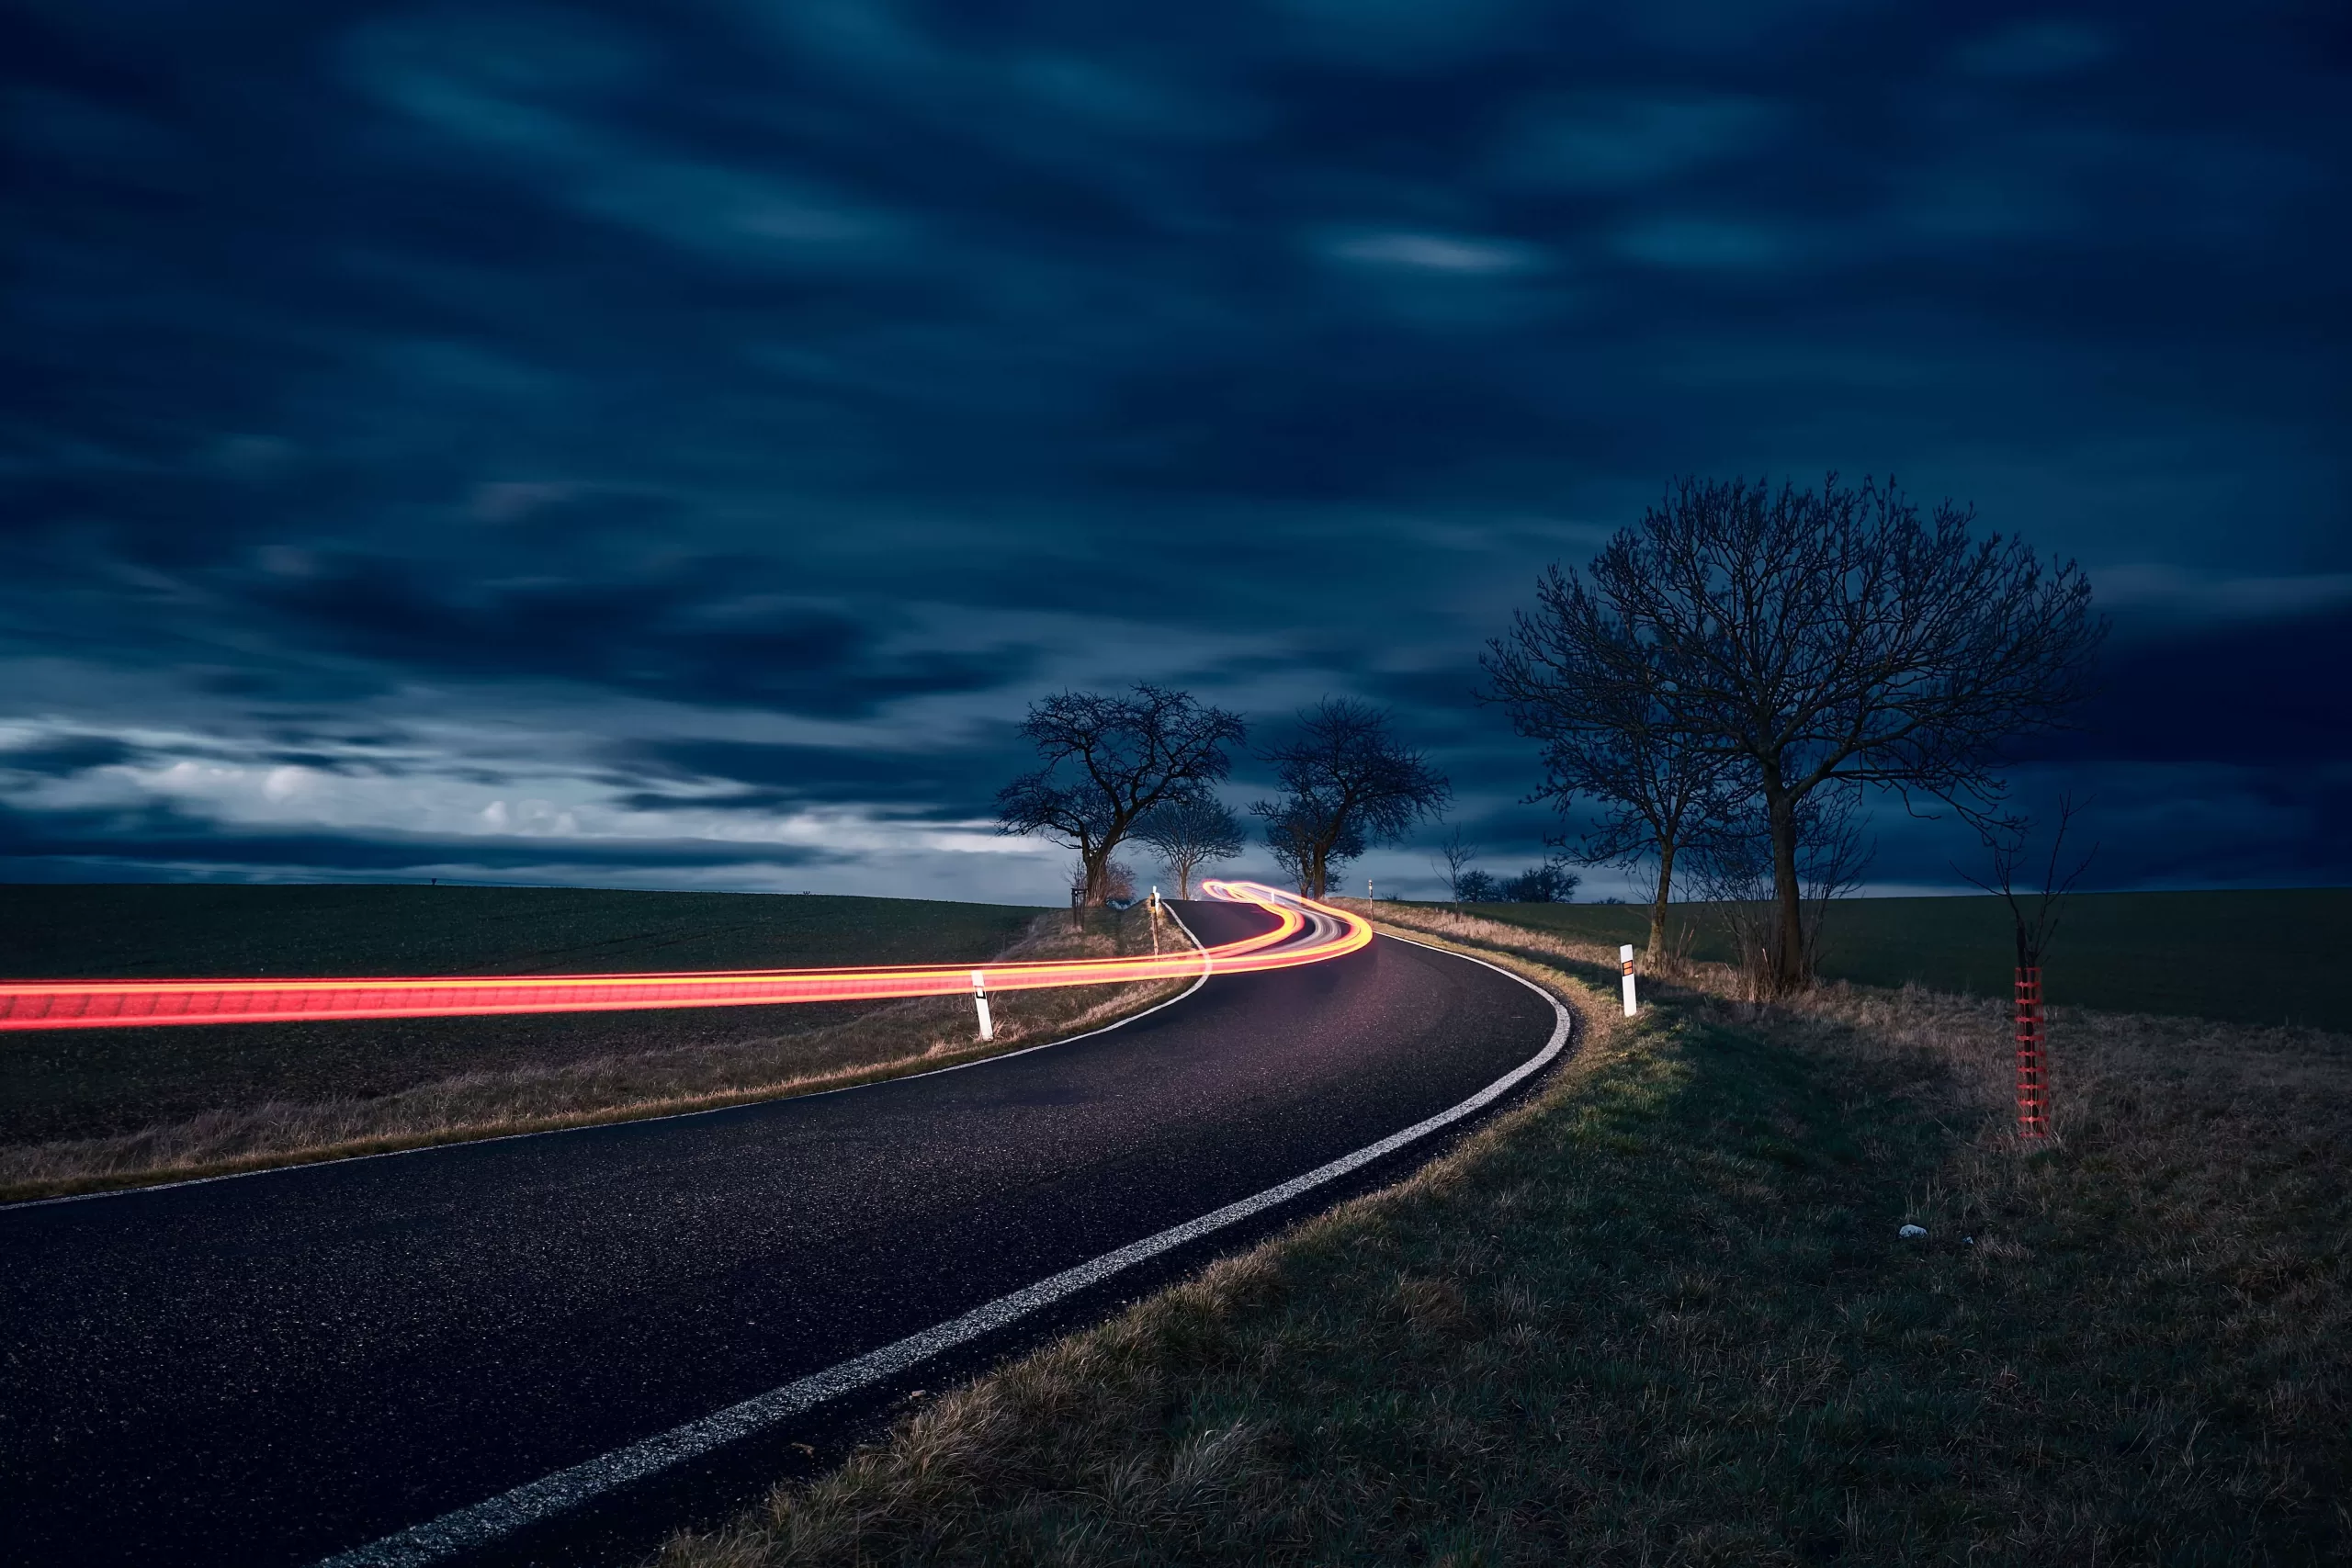
2- Take advantage of the blue hour:
Blue hour appears right after the golden hour ends. It gives you a perfect chance to use all that light that covers the sky before the night falls entirely. The shades of blue and sometimes purple create a pretty breathtaking background for your light trail photo. So, clicking a photo at this hour may get you an ethereal light trail photo.
Wrapping it up:
We explained how to photograph light trails (a light trail photography tutorial) here, so you can apply these tips while shooting light trail images next time. You can take from delicate to sharp light trail photos; however, practice and experimentation are the keys that should help you get better angles and more exciting photos. So, keep practising until you get the best light trail photo to show off.